
PDF/PRINT
Roles: Training Managers, Training Administrators, Training Advisers.
Process overview: This process allows users with the correct access rights to search for a member and assign them a Training Adviser for a specific role, adding this information to an existing Personal Learning Plan (PLP). This process also allows you to enter the date the PLP was agreed between the learner and Training Adviser. This can be done at the same time as assigning a Training Adviser, or at a later date if necessary.
You will need the details, including the membership number if available, of the learner and the relevant Training Adviser to complete this process in full. To add the Training Adviser, you can search using either their membership number or first or second name.
Completing this process means that Training Advisers can then search for their learners using Compass.
Process: Agreeing a personal learning plan
- Ensure you have selected the correct role from the ‘My roles’ dropdown menu at the top of the homepage. (This will be the role that gives you appropriate access rights to complete this process.)
- Search for the member whose record you want to update. (See user guides for ‘Basic search’ or ‘Advanced search’ for guidance on how to do this.)
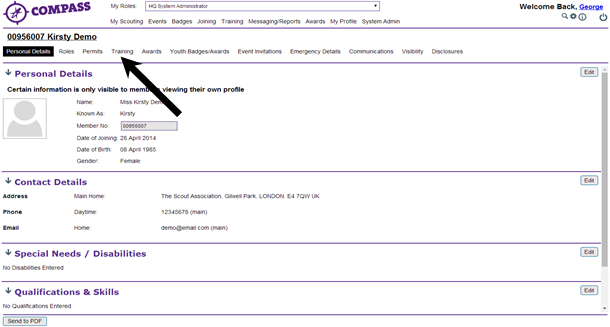
- Once you have found the correct member record, that member’s profile page will appear. Here you will see a row of headings going across the page underneath the member name and membership number. Click on the ‘Training’ heading.
- The ‘Training’ page is split into two sections. The first section, Personal Learning Plans, will display all roles linked to the member. When a member is assigned a role, a PLP detailing the training requirements for that role should automatically have been added.
Click on the ‘Show PLP’ button at the right hand side of the page to view the PLP for a role.
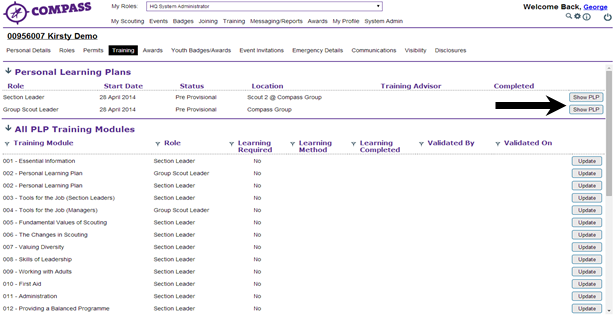 Please note: If there is a number in brackets after ‘Personal Learning Plans’ this indicates the number of PLPs the Member has.
 -
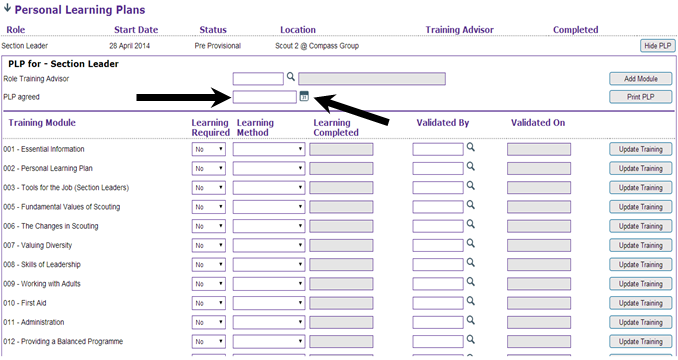
Clicking ‘Show PLP’ for a role will display the PLP for that role. This will contain the list of modules that make up the role’s PLP as well as a number of fields to be completed for each module.
Under the ‘PLP for’ heading at the top of the menu there will be a section allowing you to assign a Training Adviser to the member for that role.
There are two ways to assign a Training Adviser:
a) If you know the relevant Training Adviser’s membership number, enter this into the ‘Role Training Adviser’ box. Clicking into the next field, ‘PLP agreed’, will cause the Training Adviser’s name to appear in the grey box to the right of the membership number.
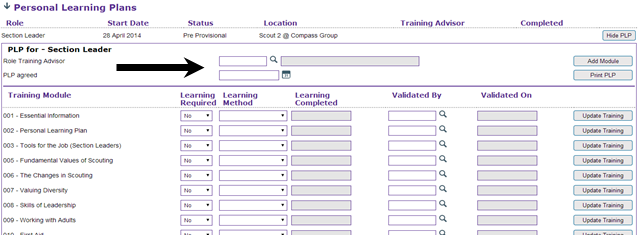
b) If you don’t know the Training Adviser’s membership number, click the magnifying glass to the right of the text box. This will bring up a new popup window.

- The new window will be titled ‘Find Training Adviser’. Enter the Training Adviser’s surname, forename (or both) into the relevant fields and click the ‘Search’ button.
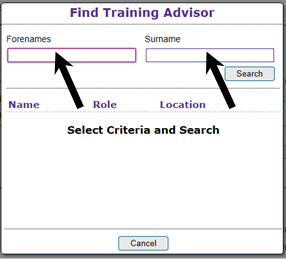
- A list of possible Training Advisers will then appear at the bottom of the window in a table. Each Training Adviser will have a ‘Select’ button to the right of their details. Click the ‘Select’ button for the Training Adviser you wish to assign.
The popup window will automatically close and the Training Adviser’s name should then appear in the grey box to the right of the ‘Role Training Adviser’ field.
- Once the Training Adviser and the member have met and agreed the PLP for the role together, this can also be entered into the record.
The date the PLP was agreed can be entered manually, or selected by clicking on the calendar icon to the right of the text box.Once entered, the date will automatically be saved.
- More information can then be recorded for each module by using the ‘Update’ button on the right hand side. This includes whether learning is required and the planned completion dates for learning method(s); as well as the validation methods or specific criteria which have been agreed. Guidance on how to do this can be found in the user guide ‘Updating and validating a module for a single member’, starting from step 5 onwards.