
PDF/PRINT
Roles: Appointment Secretaries, Administrators, Commissioners, Group Scout Leaders
Process overview: This process will allow users with the correct access rights to find adults who are already on the system and add an appropriate role to their record. The outcome of the process is that the user will be able to add roles to a member’s record or replace a current role on their record.
Ensure you have the correct role selected from the ‘My roles’ selector at the top of the page. (This will be the role that gives you the appropriate access rights to complete this process.)
There are two methods you can use to search for the member who you wish to add the new role to, Method 1 or Method 2.
This guide will show both ways; please chose which method you wish to use.
If you cannot find the member, it may be because they do not currently have any open roles, or are outside of your hierarchy; this means that they will not be visible to you on Compass. In these cases, you will need to follow the ‘Add adult process’ and should refer to the ‘Adding an adult member’ user guide.
Process: Adding a new role to an adult member
Part 1 – Method 1
- Hover over the magnifying glass at the top right of the homepage.
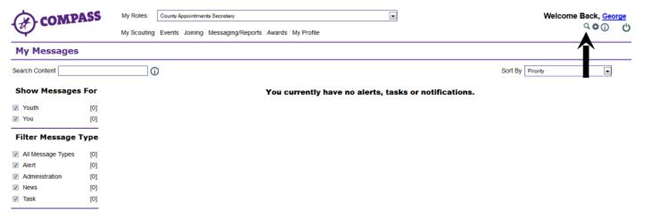 Type the membership number of the member whose role you are adding into the ‘Go to Member’ box, then click the magnifying glass icon next to the box. If you do not know the membership number, you can use the basic or advanced search options instead. Please see separate user guides for using the ‘Basic search’ or ‘Advanced search’.
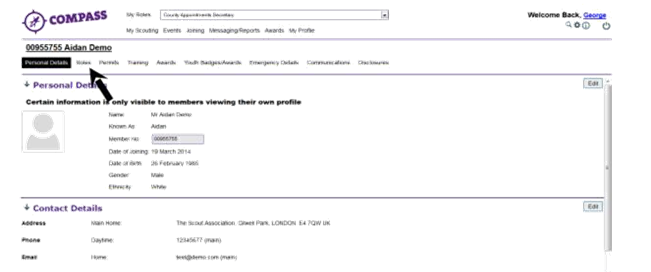
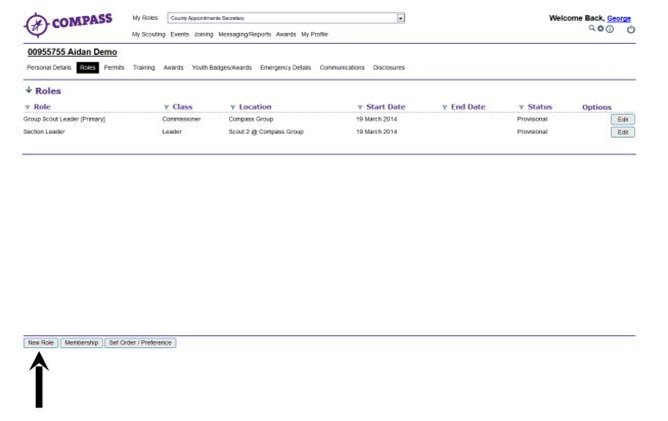
- You will then be taken to the ‘Roles’ page. There will be a list displayed containing the member’s current role(s), as shown below. At the bottom left of the page there will be a ‘New role’ button. Click the ‘New role’ button.
-
You will then be taken to the ‘Roles’ page. There will be a list displayed containing the member’s current role(s), as shown below. At the bottom left of the page there will be a ‘New role’ button. Click the ‘New role’ button.
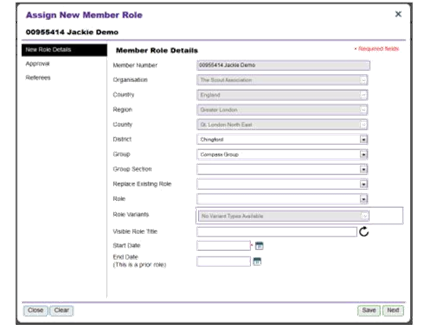
- A popup window will appear titled ‘Assign new member role’, with the member’s name and membership number underneath.
Proceed to ‘Part 2’.
Part 1 – Method 2
(Please go directly to Part 2 on the following page if you have used Method 1)
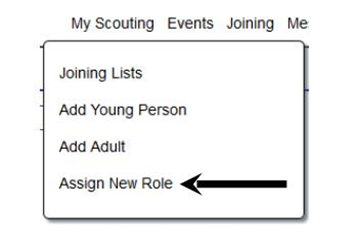
- Hover over the ‘Joining’ heading towards the top of the homepage. A menu will appear underneath. Click ‘Assign new role’.
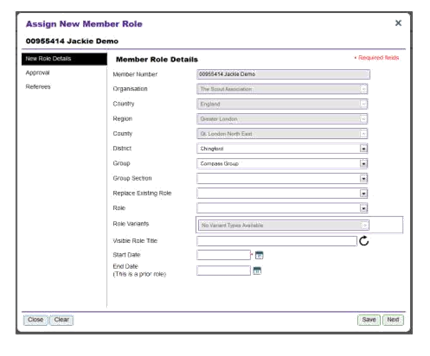
- A pop up window will appear titled ‘Assign new member role’. Using the box marked ‘Member number’, type in the member number of the member whose role you are adding and then click the magnifying glass icon next to the box. If you do not know the Member’s number, leave the box blank and click on the magnifying glass to search for the member by name.Once you have found the member, the screen should look like the screen shot below:
Proceed to ‘Part 2’.
Part 2 – For Methods 1 and 2
- Use the drop down menus available to choose the location and level at which the new role will take place. Depending on your role, this may already be partly or fully filled in. If adding a County or District role, the boxes for the levels below this do not need to be filled in and can be left as ‘Select location’.
Please Note: When adding an Occasional Helper role, specify only a Group but not a section as there is no Occasional Helper role option available when adding an adult to a Section.
- If the role you are adding is replacing an existing full role you can use the ‘Replace existing role’ drop down menu to select the role that it is replacing. The old role will still appear as open until the new role becomes full.
- Use the ‘Role’ drop down menu to choose the member’s new role. If the role has any variants, you can use the ‘Role variant’ drop down menu to change it to a different variant. For example, the ‘Section leader’ role’s variant will include ‘Beaver Leader’ and ‘Cub Leader’.
- Once a role has been chosen, further options may become available within the left hand side menu depending on the role you hold. The new options are related to the approval of the role being added.
- Enter the role’s start date into the ‘Start date’ box. The ‘End date’ box should only be used if you are adding a historical role.
- Click the ‘Save’ button at the bottom right of the window to save the new role. This will open the member’s ‘Roles’ page and will show that the new role has been added at a pre-provisional level OR click the ‘Next’ button to move on to the approval process for the role. A separate user guide, called ‘Editing and approving a pre-provisional and provisional roles’ will walk you through the approval process.